START
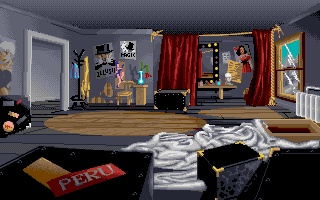
You start off locked in a room by Anderson. Use curtain cord. Pick
up wig. Pick up the Sheets on the bed (2 sets). Use both sheets
together to make a rope. Use rope on radiator. Use rope to slide
down the laudry chute.
Pick up comedy breats on the shelf (Move the ladder). Pick up
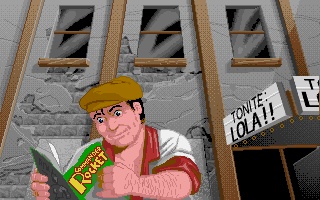
crowbar. Go up the stairs. Talk to bell boy. Ask for the key,
then ask to borrow it, then ask about the key again. And finally
tell him your Lola's friend. Pick up the key.
Go back down stairs. Use rope to go back up. Use crowbar on chest.
Pick up towel from chest. Go back down the rope.
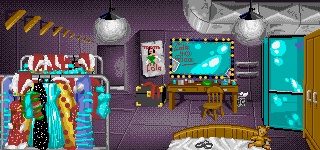
Use key on the red door and go in. Talk to Lola. Ask Lola for help
on getting out of the hotel. When Lola is in the shower, Give her
the towel you found in the chest. Lola will give you a dress. Exit
the room and put on the dress and wig. Go up the stairs and out the
front lobby, And into your truck.
IN THE TRUCK
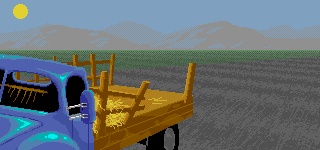
Rico and Eddie are after you. Pick up the hay. Pick up the oil.
Use oil on Rico and Eddie. Rico and Eddie wipe out.
AIRPORT
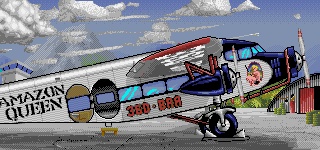
Tell Anderson you're a better pilot then him. Then say it's time to
say good-bye
AMAZON JUNGLE
Open the duffle bag. Look at the duffle bag, And you'll get a few
things. Look at the wet seats and get the comic book coupon. Open
hatch.
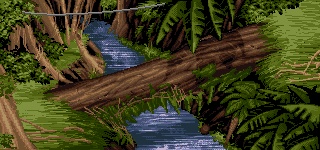
Use beef jerky on pirahna. Pick up the propellor. Use knife on the
lily stem. Use propellor on lily pad. Go north and talk to the
parrot. Use knife on the vine. Go south twice.

Use vine on the support rope on the bridge. Get the banana on the
other side of the bridge. Go back to the crash site and go north
twice. Talk to the gorilla. Tell him you dont speak ape, Then ask
if he's a gorilla, And tell him you though gorilla's were from
Africa and finally tell him, he shouldnt be there, and he'll
dissapear. Go to pinnicle.
TRADER BOB'S
Enter the store. Talk to Bob. Tell him you'll help him. Give the
beef jerky to Bob. He'll give you cash in return. Buy the vaccum
cleaner. Go to pinnicle.
JUNGLE
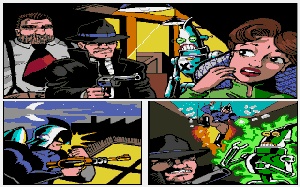
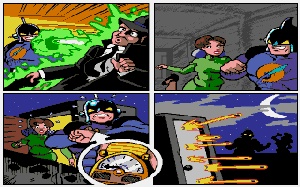
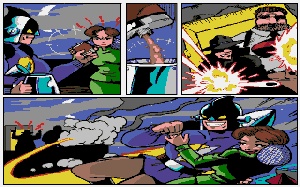
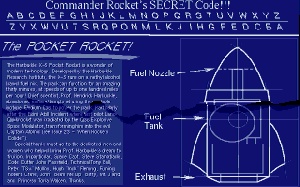
Talk to Bud and Skip. When you talk to Skip, say: "I Have a friend
that likes Commander Rocket. He has every one but one. He needs
the one where he battles the Chicago Mob."
Skip gives you the comic. Go east twice (past the falls). Talk to
the gorilla in the dino-suit. Get him to say: "Your the ape i saw
earlier. You dont exist."
Go through the log. Use the vaccum on the wasps. Pick up Orchid.
Go next room (east). Look at the stone carving. An amazon will
show up. Use the button on the door. You should get trapped.
AMAZON TEMPLE DUNGEON
Talk to the old man. Tell him you like the hand puppet. The old
man should give you the puppet. Faye will show up, apologise to her
and she will let you out. Go up the stairs. Exit the temple.
JUNGLE
Go through the log and go down.
MISSION
Give the banana to the monkey with the coconut. The monkey will
give you the coconut. Talk to Mary-Lou. Go back to pinnicle.
TRADER BOB'S
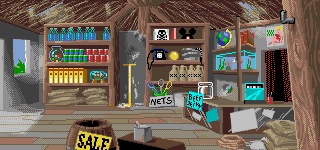
Try to talk to the pygmy's. Ask Naomi where she learned to speak
english. Give orchid to Bob. He'll give you the net and make you a
special customer. Get the net.
CRASH SITE
Use the net on the perfume bottle in the water. Give Sparky the
comic book and he'll give you a file. Get another banana from the
banana tree on the other side of the bridge.
MISSION
Talk to Mary-Lou. Swap the file for the pygmy dictionary. Talk to
Jimmy about Sloths.
WATERFALL: In The Jungle
Use the net on the bettle that's flying around.
TRADER BOB'S
Now you can talk with the pygmy's. Talk to the witch doctor. Ask
her if she can make a rash cure. Enter the store. Give perfume to
Naomi and she'll give you the scissors.
FLODA INC. CAMP
Pick up the flower in the front garden. Enter the house. Talk to
the secretary. Ask her why thier located in the jungle and then
tell her your the fumigator.
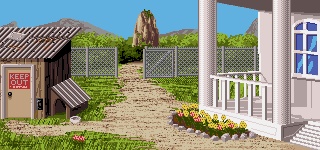
Enter the door (library). Look under couch cushion. Pick up
change. Leave the room.
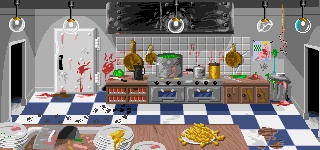
Go into the kitchen. Talk to the chef. Ask him what he's doing.
Then ask him if he's having any luck. Give the banana to the chef.
The chef will leave. Pick up the cheeze-Bits. Pick up the can of
dog food.
Go east. Open mailbag. Look at the bag and you'll get a letter.
Look at the letter. Open foot locker. Pick up squeeky toy.
Exit the house. Give the squeeky toy to the dog. Go back to the
pinnicle.
JUNGLE: The Screen B4 Bud and Skip
Use the flower on the sloth. Use the scissors on the sloth. Go
back to the pinnicle.
TRADER BOB'S
Use the knife on the coconut. Give the witch doctor the
vaccum(w/wasps in it), Coconut, and the sloth hair. Back to
pinnicle.
JUNGLE: Bud and Skip
Give Bud the rash potion. He'll give you cash in return. Back to
the pinnicle.
TRADER BOB'S
Buy the record. Back to pinnicle.
FLODA INC. CAMP
Enter the house. Goto Library. Use the record on the record
player. Use elevator.
You should be in the bunker. Open the door. Look in the box. Exit
room.
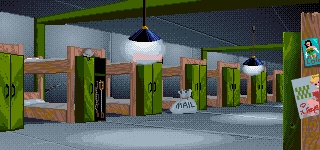
Go up the hall. Talk to John. Give John the letter. John will cry
and then let you into the rooms. Go into the first door. Look at
the notes on the desks. Move the cabinet. Exit room.
Go into the second room. Read duty roster. Go up the hall. Pass
by this hall too and go into the next hall. Go into the room and
tell the guard he's needed for kitchen duty and that he has to
report to colonel Jackson. He'll leave.
Enter the second door. Pick up the book on the desk. Use the knife
on the book to open it. Now you have a key. Exit the room. Goto
the fire exit. You should be in the lab. Pick up the weenie serum
on the shelves. Go east.
FLODA BUNKER PRISON
The princess is in the cell. Use the key on the cell door.
FLODA INC. FRONT DESK
You have set off the alarm. Get the pencil from the front desk.
Use the dummies (The ones wearing the leaderhosen). Talk to
Princess Azura and ask her if she saw the door code. Use the
colored wall panel. The door will open. Exit house.
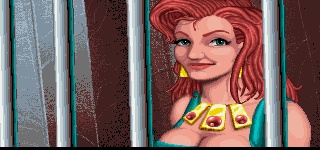
Princess Azura will now split. Go back inside. Use the elevator.
FLODA BUNKER
Now go back to the hall you passed up ealier. Open the dog food can
with the can opener. Use the super weenie serum on the dog food
can. Give chef's surprise to Klunk (the guard in the hall). Talk
to Klunk and ask him if he thinks he's a tough guy and then call him
a weenie, and you'll punch him out. Now you can enter the room.
Enter the room. Use the pencil on the notpad that's on the desk.
Now you have the combination to the safe. Exit the room.
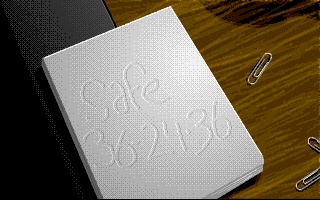
Go to the room with the safe (where you moved the cabinet). Use the
paper on the safe. Look at the safe to get the things inside. Go
back upstairs. Exit the house.
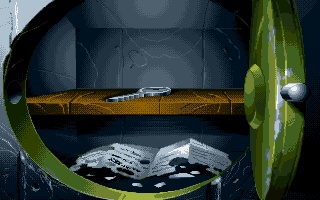
Enter the shed. Use the key in the padlock. Open the box. Look at
the box to get the rocket pack. Exit.
AMAZON FORTRESS
Enter the temple. Go back to the pinnicle.
VETTI
Talk to the ferryman. Give the beetle to the ferryman for bait.
Ask him to take you to sloth island.
SLOTH ISLAND
Enter the temple. Go into both rooms and try to pick up all the
mummies. When you try to pick up the mummies, they will crumble,
but some will leave bones, pick up those bones.
The Dino-Rat will be in one of the rooms. Give him Cheeze-Bits and
he will run away.
Go into the main room (the room you first came in). Use all the
bones in the correct spots. You should have an arm bone left. Use
the arm bone in the socket of the ancient slot machine. Use money
in the slot and pull the arm bone. Enter the newly uncovered
entranceway.
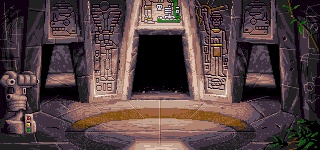
MAIN STATUE ROOM
This room is just a large statue with two arms. You'll get sick of
this room after awhile. The temple guardian will pop up and ask you
a riddle. Tell her it's the three stages of life (how original).
Three doors open up.
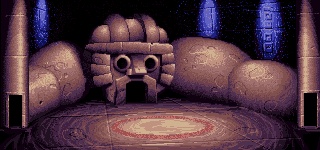
Go into the far right door. Then go into the door with the bright
light coming from it. Cross the bridge to get into the next room.
You should be in a room with three zombie women. Talk to the
Zombies. Try to convince them there is no prince in the
sarcophagus. Get the zombies to open the sarcophagus. Pick up the
wrappings that roll out. Talk to the zombies again. Tell them to
open the sarcophagus again. They will find out there is no prince
in the tomb and dissapear. Open the sarcophagus and pick up the
crown. Use the knife on the vines (You'll get the vines). Close
the sarcophagus. Move the sarcophagus. Enter uncovered entrance.
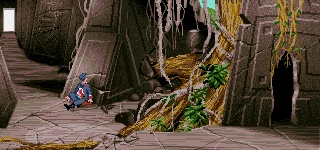
DEEP UNDER THE BUNKER
Use the knife on the tree sap. Pick up the sap> Use the sap on the
bat. Pick up some more sap. Move fountain head. Pick up the blue
jewel. Dont use the lever yet. Enter the next room.
You find Ian, he says he has the skull and wants you to release him.
Walk to the next room (to your left). Use the hand puppet on the
hot plate. Now go back to the main statue room (use the lever). Go
into the middle door (statur mouth). Use the stone plate on the
wooden spindle. Use gnarled vine on stone disc. Go to the main
statue room. Go into the far right door again. Use the loose vines
on the pulley. Use the baseball bat on the pulley. The stone slab
should be lifted. Enter under slab.
Pick up the pick. Go back to the main statue room. Go into the
middle door. Enter the next room.
Use the pick on the stalactite. Pick up the flint. Use the flint
on the lighter. Use the pick on the glowing hole. Exit back to the
main statue room.
Go into the far left door. Use the mummy wrapping on the arm bone.
Use the lighter on the arm bone (with the mummy wrappings). Use the
arm bone torch on the snake. Enter the door.
WATERFALL ROOM
There are two doors here, one light one and one dark one. Go into
the dark door. Look at the body. Get all the goodies from the dead
guy. Enter the next room.
Follow the balcony to the next room. Go west from the room with the
two dino's spitting lasers. Go across the bridge into the next
room. Pick up the big stick in the rock. Go back to the main
statue room. Go into the middle door. Go into the next room. Go
into the hole (now a doorway).
Use the big stick on the crypt. Look in the crypt and you will get
the death mask. Use the rest of the mummy wrappings on the death
mask. Go back to the main statue room.
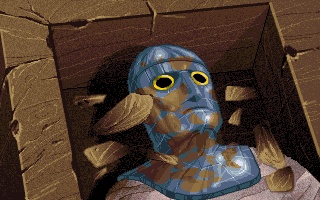
Go into the far left door and go to the waterfall room. Enter the
dark room. Walk over the balcony and into the next room. Use the
death mask on the dino's head. The Dino head blows up. Enter the
newly unblocked pathway. Goto next room.
Use the sticky bat on the green gem. Exit room. Go from the
dino-laser room west over the bridge and into the next room. Use
the blue and Green gems in the sockets under the eyes of the statue.
Two new doors should open. Don't go in them yet.
Go back over the bridge and into the dino-laser room and go back to
the waterfall room. Go back to the main statue room. Go into the
far right door. Use the bat on the pulley again. The slab should
go back down. Go back to the main statue room. Go into the far
left door and into the waterfall room. Go into the light door. The
slab should be lifted up now. Use the lever that's on the dino.
Talk to Ian, Ask him to untie the rope tethering the cage. Ian of
course gets out, and doesn't seem to have the crystal skull. Ian
Splits. Go back to the dino-laser room, use the door beside the
stairs (faster). Go west.
You'll hear some noise when you enter the room. Go into the left
door and you'll find Ian got flattened. Go back to the man statue
room. Go into the far right door. Go all the way to where the 3
zombies were. Go into the hole. You should be at the sap tree
again. Go into the next room and then the next room again.
Look at Ian and grab the other part of the stone key. Use the two
stone peices together (using the sap). You should now have the
whole stone key. Go back to the main statue room using the lever.
Go into the far left door. Go to the waterfall room.
Enter the light door then the small door by the stairs. Go west
from the dino-laser room. Go over the bridge to the next room. Go
into the door to the right of the statue. Use the stone key on the
small statue. A new entrance pops up. Go down into the new
entrance. Cross the green lava bridge into the next room.
O.K. This is a good time to save your game. You will find the
Dino-Rat back again. Give the cheese-bits to the dino-rat. Follow
the dino-rat EXACTLY!.
Everytime the dino-rat stops, give him some more cheese-bits to get
him moving again. Keep it up until you get to an altar room. Dont
do anything here yet (the altar room). Go into the door on the
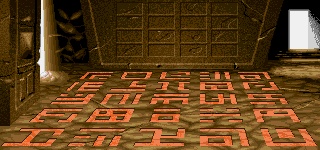
other side of the altar. Now you should be in the puzzle room. Use
a vaccum cleaner on the mosaic (floor).
There are 16 tiles here, don't pay any attention to any markings or
anything, just hit the first tile and then the second (see what i
mean by the diagram).
|
OOOO
OOOO
OO@O
O*OO
O - TILES
* - THE FIRST TILE TO MOVE
@ - THE SECOND TILE TO MOVE
|
|
Just move the * tile first. Then move the @ Tile. I Hope you can
figure that out. I Don't know how to explain it any easier than
that.
Once done the puzzle. Enter the next room. The temple guardian
pops up again. She wants proof that your king (even know your not).
Give the guardian the crown you found in the sarcophagus. A Door
will open. Pick up the crystal skull. Go back to the altar room.
Go to the altar. There are two panels there. Move the right panel
first. Then move the left panel. A chair will come down from the
ceiling. Use the chair.

FLODA PRISON CELL
Once done talking with frank. Pick up the mug on the bench. Use
the mug on the cell door. Anderson and Faye will come and get you
out. Exit the building.
TRADER BOB'S
Buy the alcohol using the dead guards ID. Read the torn up paper
(jetpack plans). Read the comic book, pages will fall out. Use the
comic pages with the wet comic coupon. Read the blueprints. Use
the alcohol in the jetpack. Go to the pinnicle. Use the jet pack.

MIST ISLAND
When your finished talking with faye exit to the path. To get the
dino to move go to the Distant clearing. Go past the dino's head
and up into the next screen.
Use the knife on the branches. Give the branches to the dino. The
dino moved. Now go back down and now you can cross where the dino
was. Exit to the next screen.
To get passed the large dino eating the dead dino. Use the Tyranno
Horn. Go to the next screen.
Now, after all those events happen. Pick up the Dino ray gun.
Shoot monster Frank with the ray gun. Talk to Faye, Ask her to turn
her mirror around. Use the ray gun on monster Frank again. Give
the death mask to Sparky. Use the ray gun on monster frank one last
time. THE END

|